Lighting for content recording: the basics that make the difference
Types of light, the basic three-point setup and the mistakes that ruin a video before you start talking. The lighting fundamentals we use at A0Studios.
Lighting is the element people underestimate most before walking into the studio. They arrive with a good camera, a good microphone and the script ready, and the first take comes out flat, with odd shadows on the face or a blown-out background that ruins the effect they wanted. The equipment doesn't fail. The light does.
This is no accident. Lighting for content recording has a specific logic worth understanding before you switch on the first panel. You don't need to build a TV set or a seven-light setup. You need to understand three or four principles that, once clear, change the result from the first take.
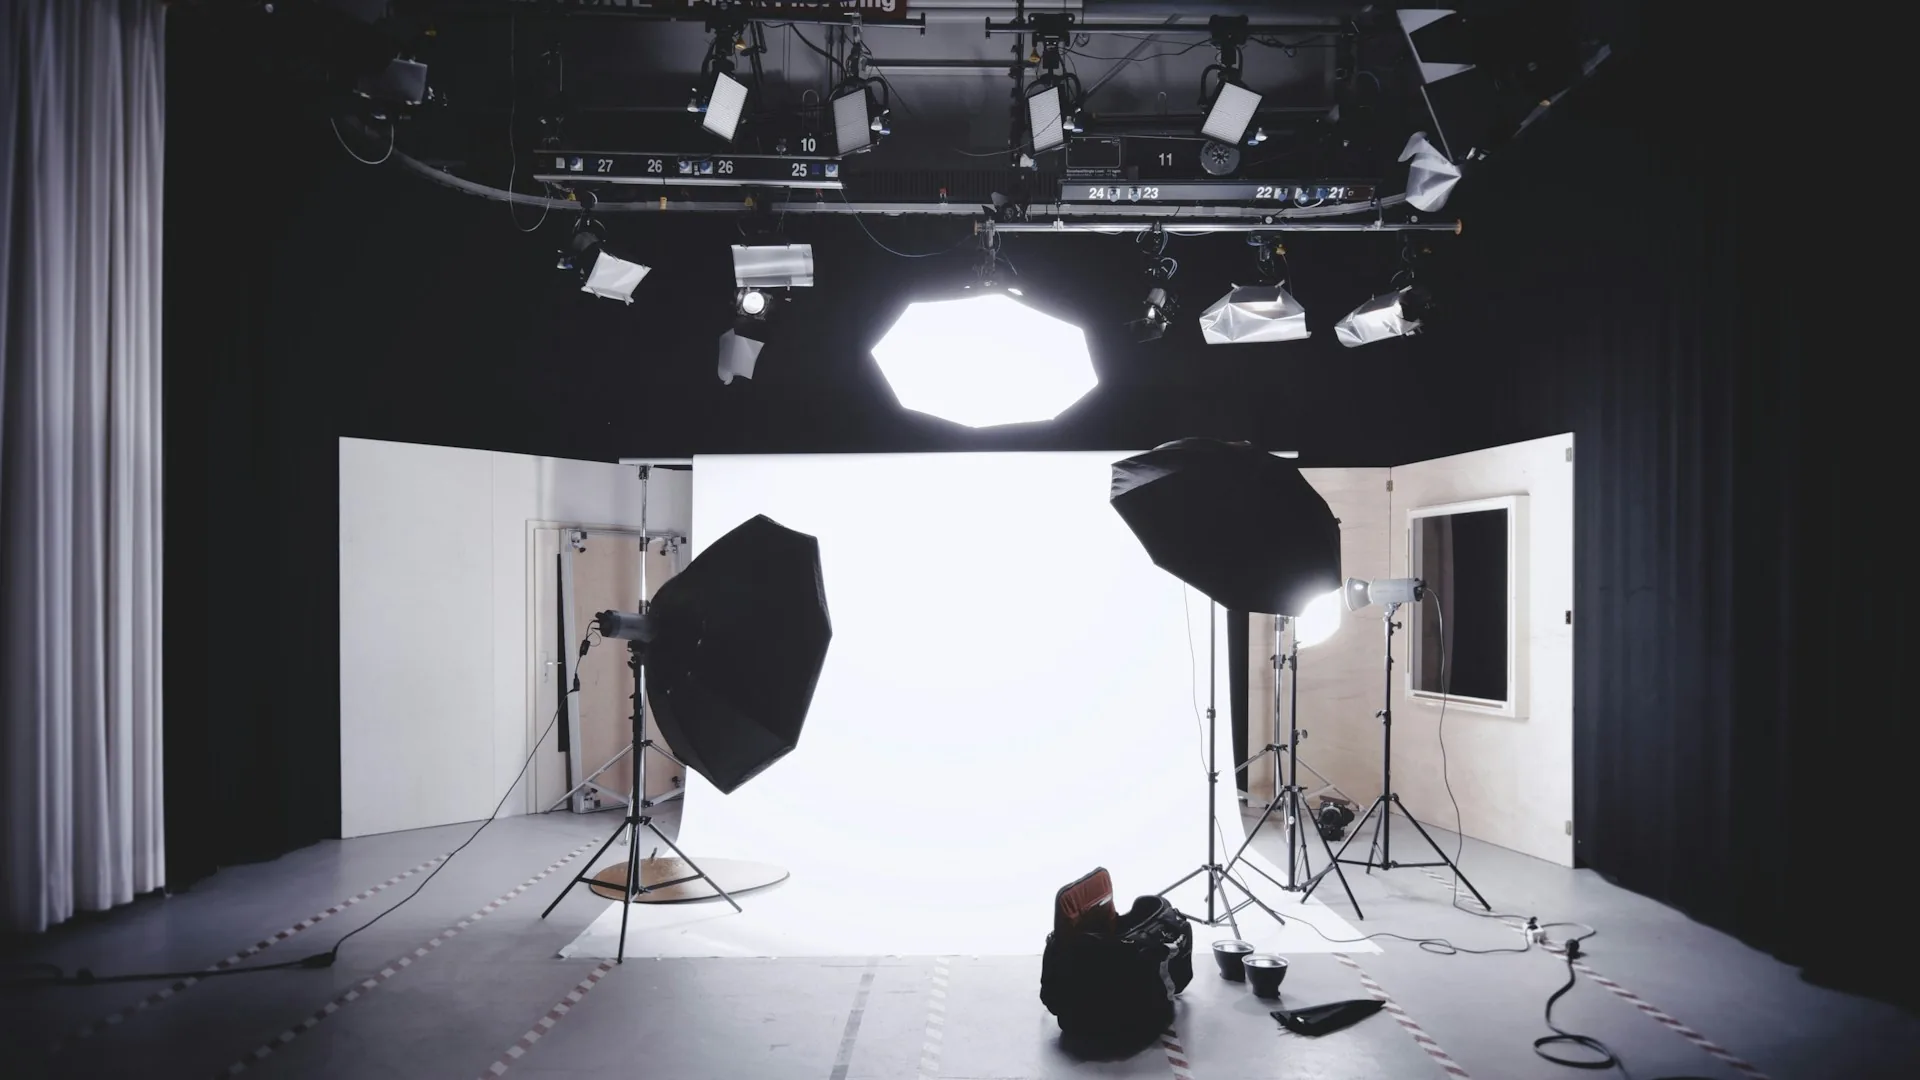
What lighting for content recording is and why it matters so much
Lighting is not just adding light so something is visible. It is deciding where the light comes from, at what intensity, what colour temperature it has and how it interacts with the subject and the background. The same face lit from above, from the side or with diffused light from the front gives three radically different results. One flattens, another adds volume, the third gives a clean, professional image. What you see on screen depends on those decisions, not just on how many watts the panel has.
In content recording for a personal brand or a company, lighting also communicates. A setup with cold, hard light creates a very different impression from one with warm, soft light. It is not empty aesthetics: it is the signal the viewer receives before hearing a single word. If the setup looks improvised, the perception of the message drops. If the light is sorted, the content starts from a stronger position.
How to do it well
The key light: the starting point of any setup
The key light is the source that lights the subject with the most intensity and defines the shadows of the setup. The usual placement is slightly above eye line, at about 45 degrees from the subject and at a distance of 1 to 1.5 metres. That position gives facial volume without harsh shadows. If you place the key light directly in front, the result is flat. If you put it too far to the side, the shadows are excessive and the result is more dramatic than professional. For brand or authority content, the 45-degree position is almost always the right starting point. At A0Studios we use LED panels with diffusers: adjustable temperature from 3200 K to 5600 K, soft from the first switch-on.
The fill: the second element you can't skip
The fill light is the source that brightens the shadows created by the key light. Without fill, the shadowed side of the face is too dark for content recording and the result looks more film noir than authority production. The fill doesn't have to be as powerful as the key: it is usually placed on the other side of the subject at an intensity of between a third and half of the key. In spaces with natural light, a white wall or surface on the opposite side can act as fill without needing a second light. In the studio, a foldable reflector is the simplest and most functional solution.
The background light: separating the subject from the environment
The background light does not light the subject: it lights what is behind. Its job is to create separation between subject and background to give the image depth. Without it, if background and subject have the same brightness, everything sits on the same plane and the image loses dimension. A well-placed background light can light a wall, highlight a decorative element or simply add a soft gradient that breaks the flatness. You don't need a complex setup: one small panel pointed at the background from one side is enough to clearly change the sense of depth.
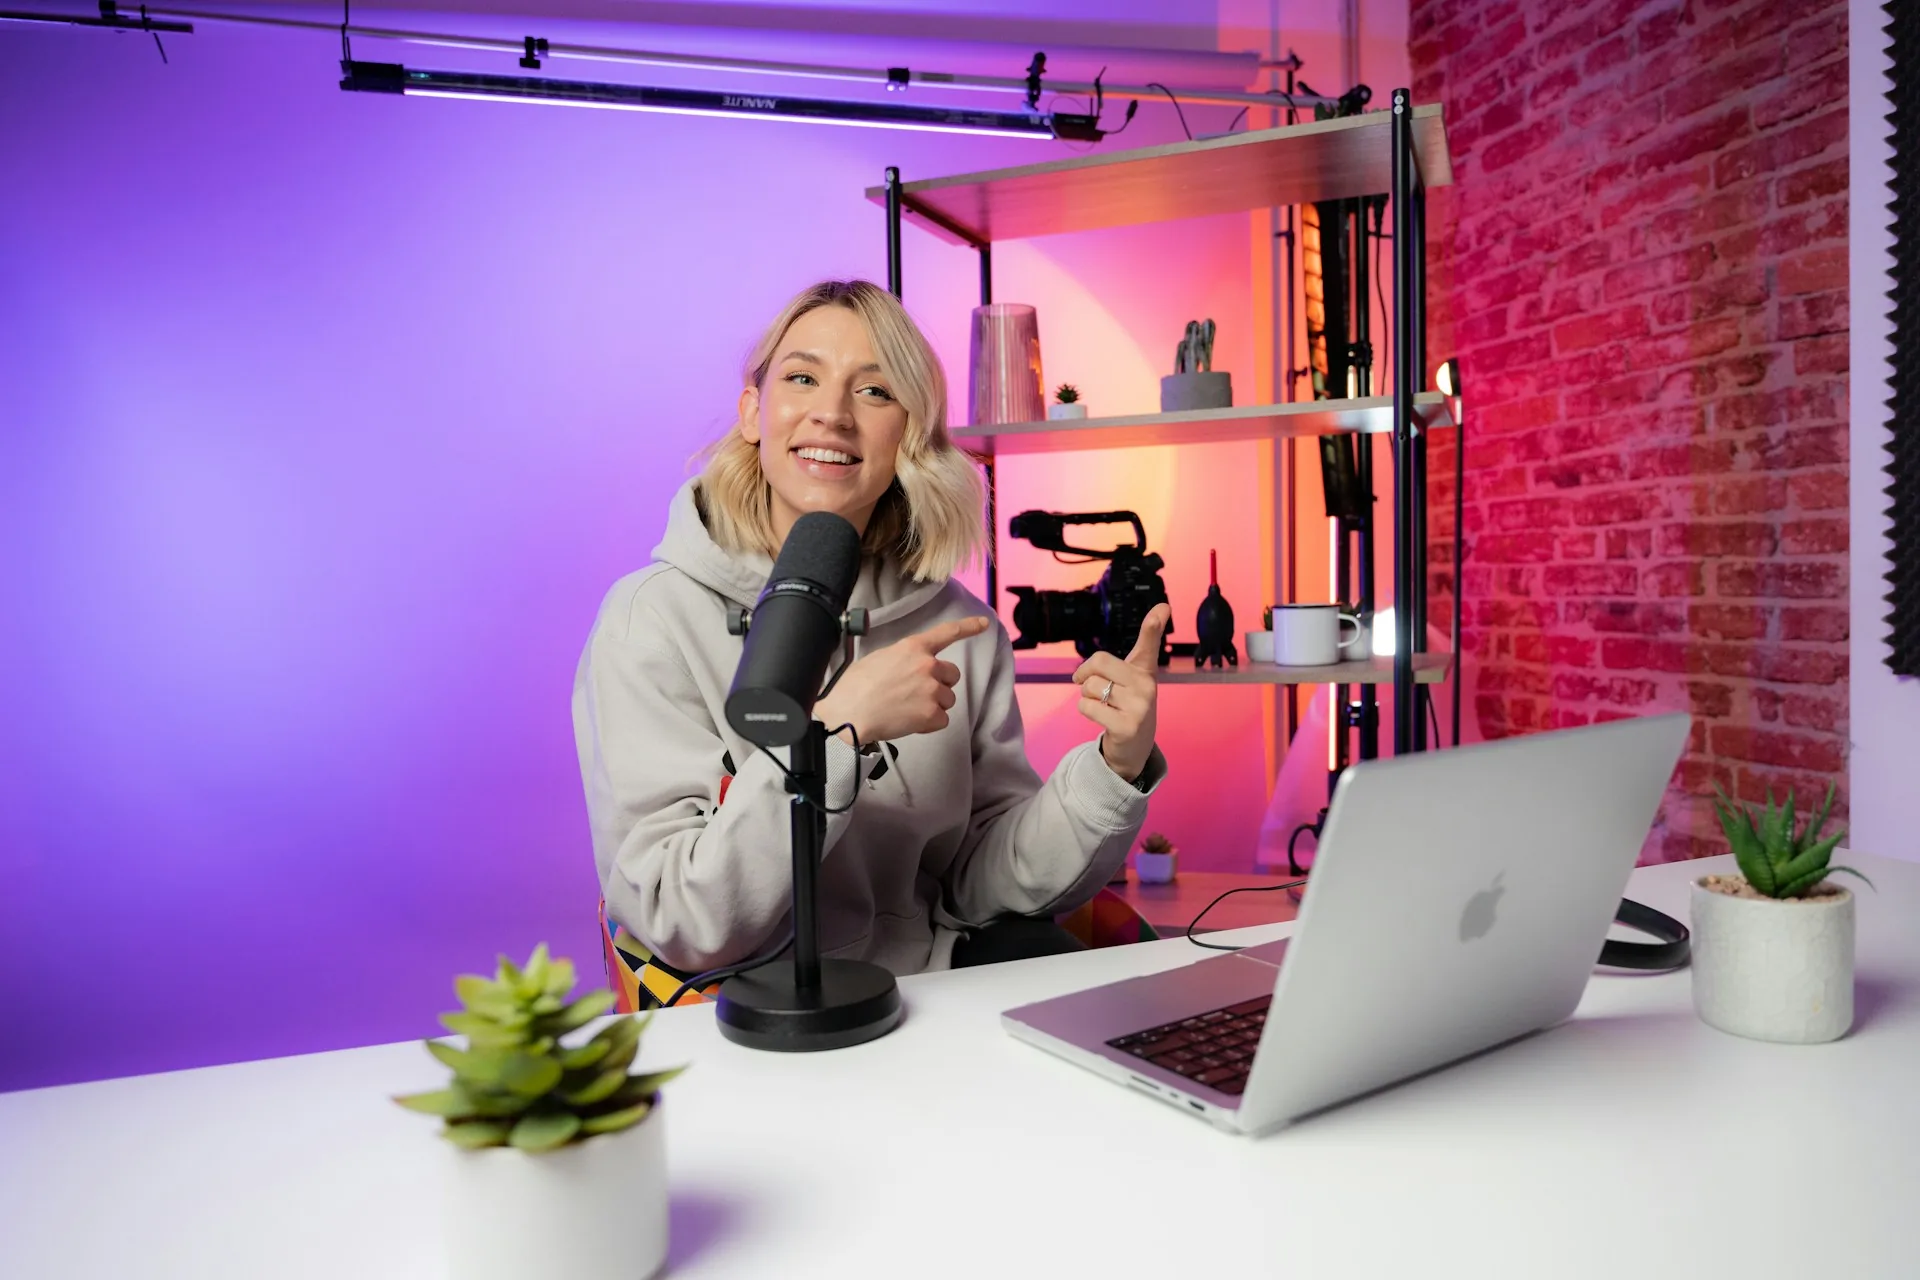
Common lighting mistakes in content recording
- Using the ceiling light as the main source: overhead light creates shadows under the eyes and gives a tired or harsh look.
- Placing a bright window directly behind the subject without compensating: the camera exposes for the background and the subject goes dark.
- Not controlling colour temperature between sources: mixing warm light from a lamp with cool light from a window creates inconsistent skin tones.
- Adding light without a diffuser: hard light casts sharp shadows that are hard to fix in post-production.
- Not doing a test shot before recording: 2 minutes of checking saves you from finding the problem once the setup is taken down.
- Forgetting to light the background: without separation between subject and background, the image loses all depth.
Frequently asked questions
Do I need professional lighting equipment for the video to look good?
Not necessarily. Two mid-range LED panels plus a fabric reflector solve 80% of typical content setups. What matters is not the price of the equipment but knowing where to place each source. One well-positioned panel gives a better result than three badly placed ones.
Is natural light enough for recording content in a studio?
Yes, if the space is prepared to control it. Natural light is the softest, most natural source there is, but it changes with clouds, the time of day and the orientation of the windows. At A0Studios we work with diffusers and blinds that keep the image consistent even when the outside light changes. Without control, natural light can become a problem.
What colour temperature is best for recording brand content?
Between 5000 K and 5500 K, which is the closest to natural daylight. That range gives neutral skin tones and a clean white, without the coldness of pure white or the excessive warmth of 3200 K. At A0Studios we adjust colour temperature to the environment of each session to keep shots consistent.
How long does it take to set up a basic lighting setup?
A well-organised three-point setup (key, fill and background) takes 20-30 minutes to set up in a new space. At A0Studios the setup is ready before you arrive. If you bring your own equipment, we recommend a rehearsal in the same space beforehand so you don't lose session time on basic adjustments.
If you want to record your next content session with lighting sorted from the first minute, we have it ready at A0Studios. Get in touch via /#contacto and we'll tell you how a session works.
If you want to record premium content in Madrid, let's talk
From a quick Reels session to a full production day with editing and delivery, we can scope it to fit.