Chroma key: when to shoot on a green screen and when not to
Chroma key lets you put someone in any setting without leaving the studio, but done badly it shows in two seconds. When it pays off, when a real background gives a better result, and how to light it for a clean cutout.
Chroma key, shooting in front of a green or blue background to replace it in post-production, is one of the most used and most misunderstood tools in video production. Done well, it lets you put someone in any setting without leaving the studio. Done badly, it leaves a green outline around the hair that gives the trick away in two seconds.
At A0Studios we set it up for clients who need branded backgrounds, animated graphics behind the presenter, or pieces where the setting changes several times within the same video. It isn't the solution for everything: some sessions get a better result from a real background than from any well-executed chroma. The key is knowing when each option fits.
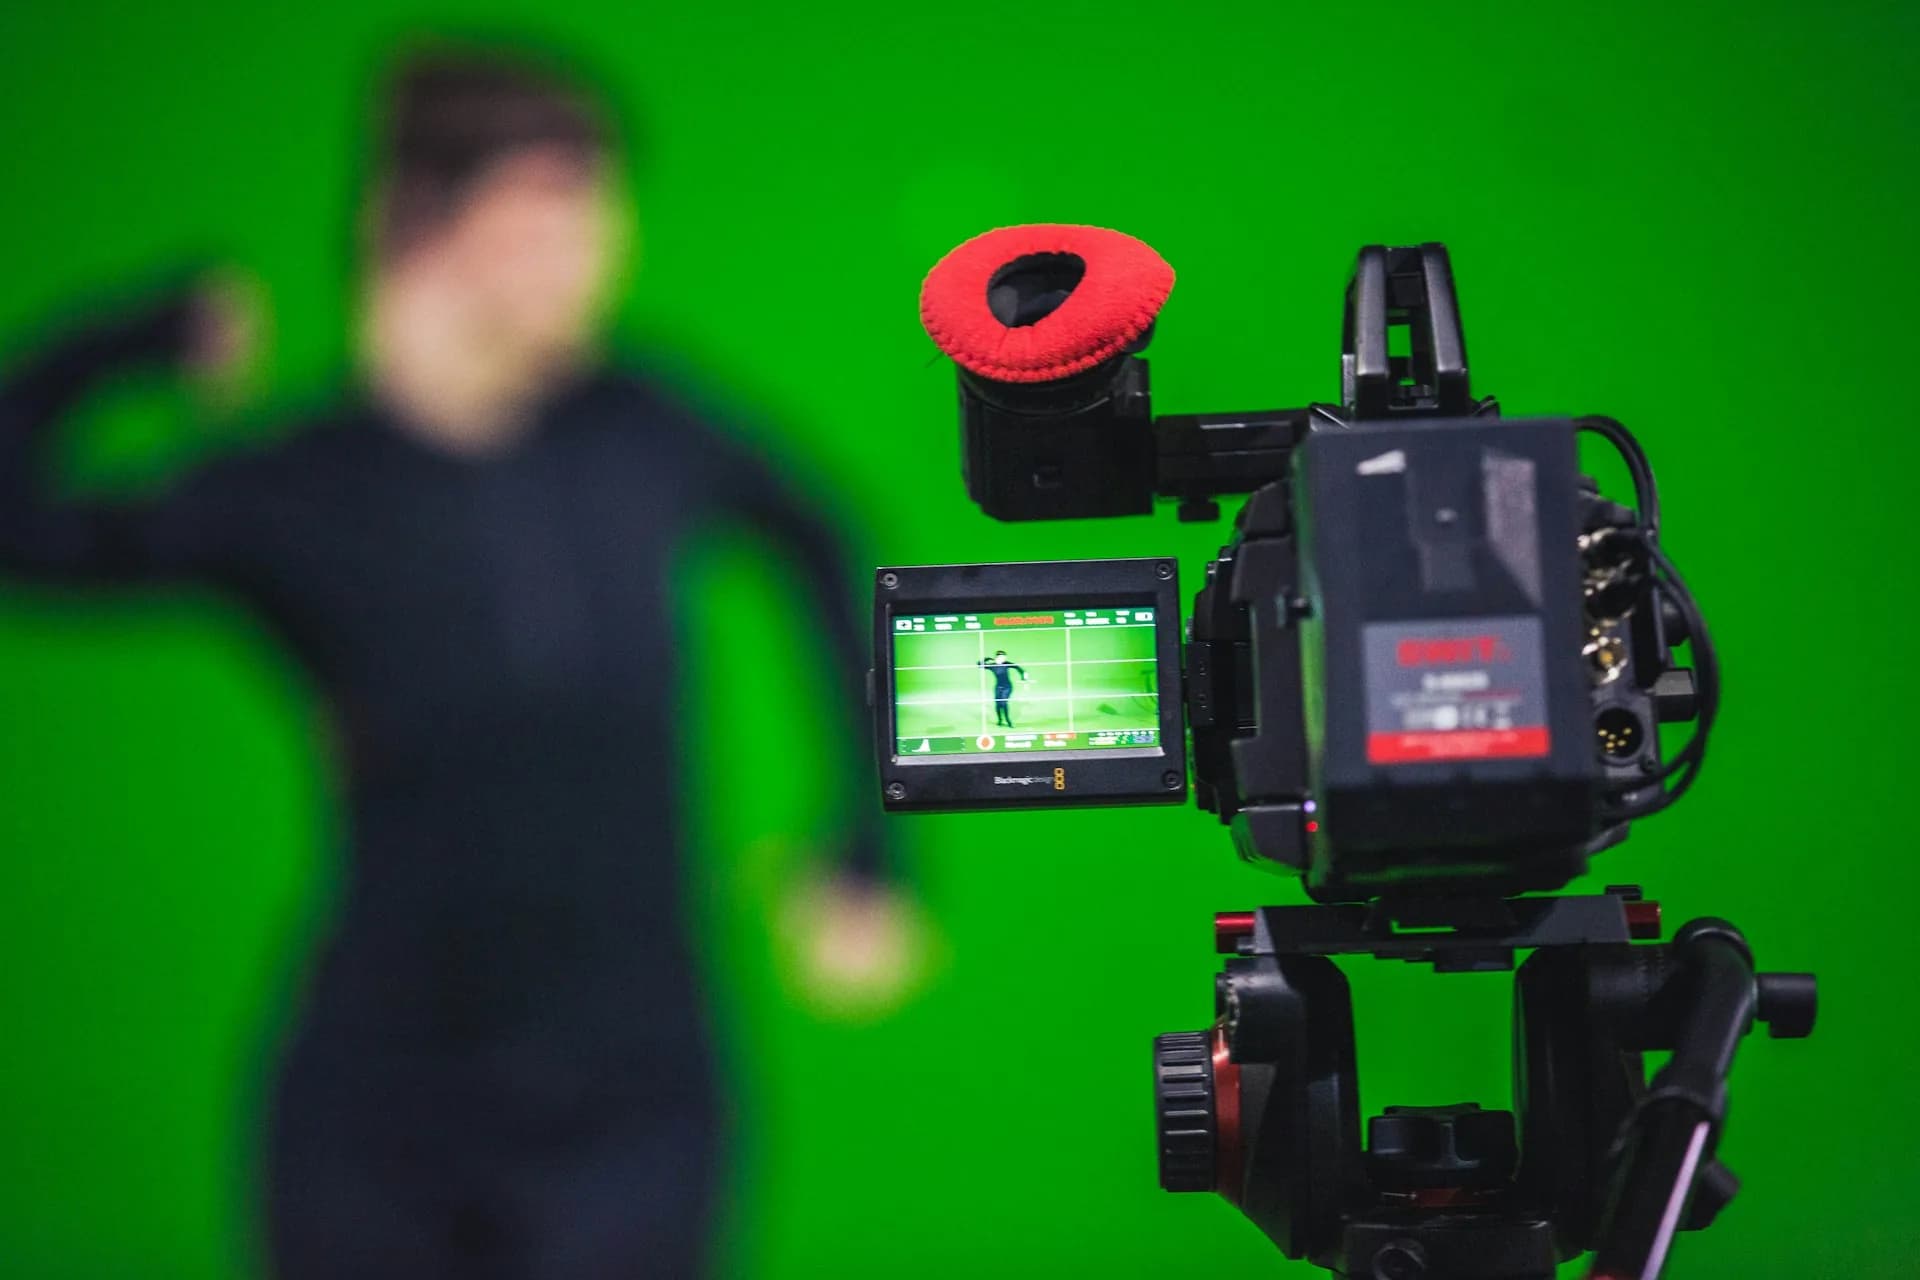
What chroma key is and why it's used
Chroma key is a post-production technique that replaces a uniform background color, almost always green because it contaminates skin tones less, with another image or video. The camera records the person in front of that fabric, and in editing that color is cut out and whatever is needed goes behind: a virtual set, brand graphics, another location.
It's mainly used when the message needs visual support that doesn't physically exist in the room: data on screen, animated graphics, a different brand background in each video, or pieces where the same presenter appears in several settings without changing real location. It also helps separate the subject from the background and gain flexibility in the edit, even if the final result is simple.
It doesn't replace a good real background. If all you need is a clean wall or a bookshelf with good light, shooting there directly gives a more natural result and saves hours of editing. Chroma makes sense when the final background needs to be something that doesn't exist in the room.
How to do it well
Lighting the green screen
The most common mistake is lighting the fabric the same way as the person. The background needs its own light, even, with no shadows or pronounced folds, separate from the subject's lighting. If the green is uneven, the cutout fails and those haloed edges appear that show on any screen.
Distance between subject and background
Placing the person at least a meter and a half from the fabric stops the green from bouncing onto hair or light clothing, which is very common when the subject stands right against the background. That distance also slightly blurs the green, which makes a clean cutout easier in editing.
Wardrobe and colors to avoid
Green is obviously out, but also avoid shiny or semi-transparent fabrics that reflect the background color. Loose or very curly hair is the hardest thing to cut out cleanly: if there's room for it, a more controlled hairstyle saves quite a few hours of cleanup in post-production.
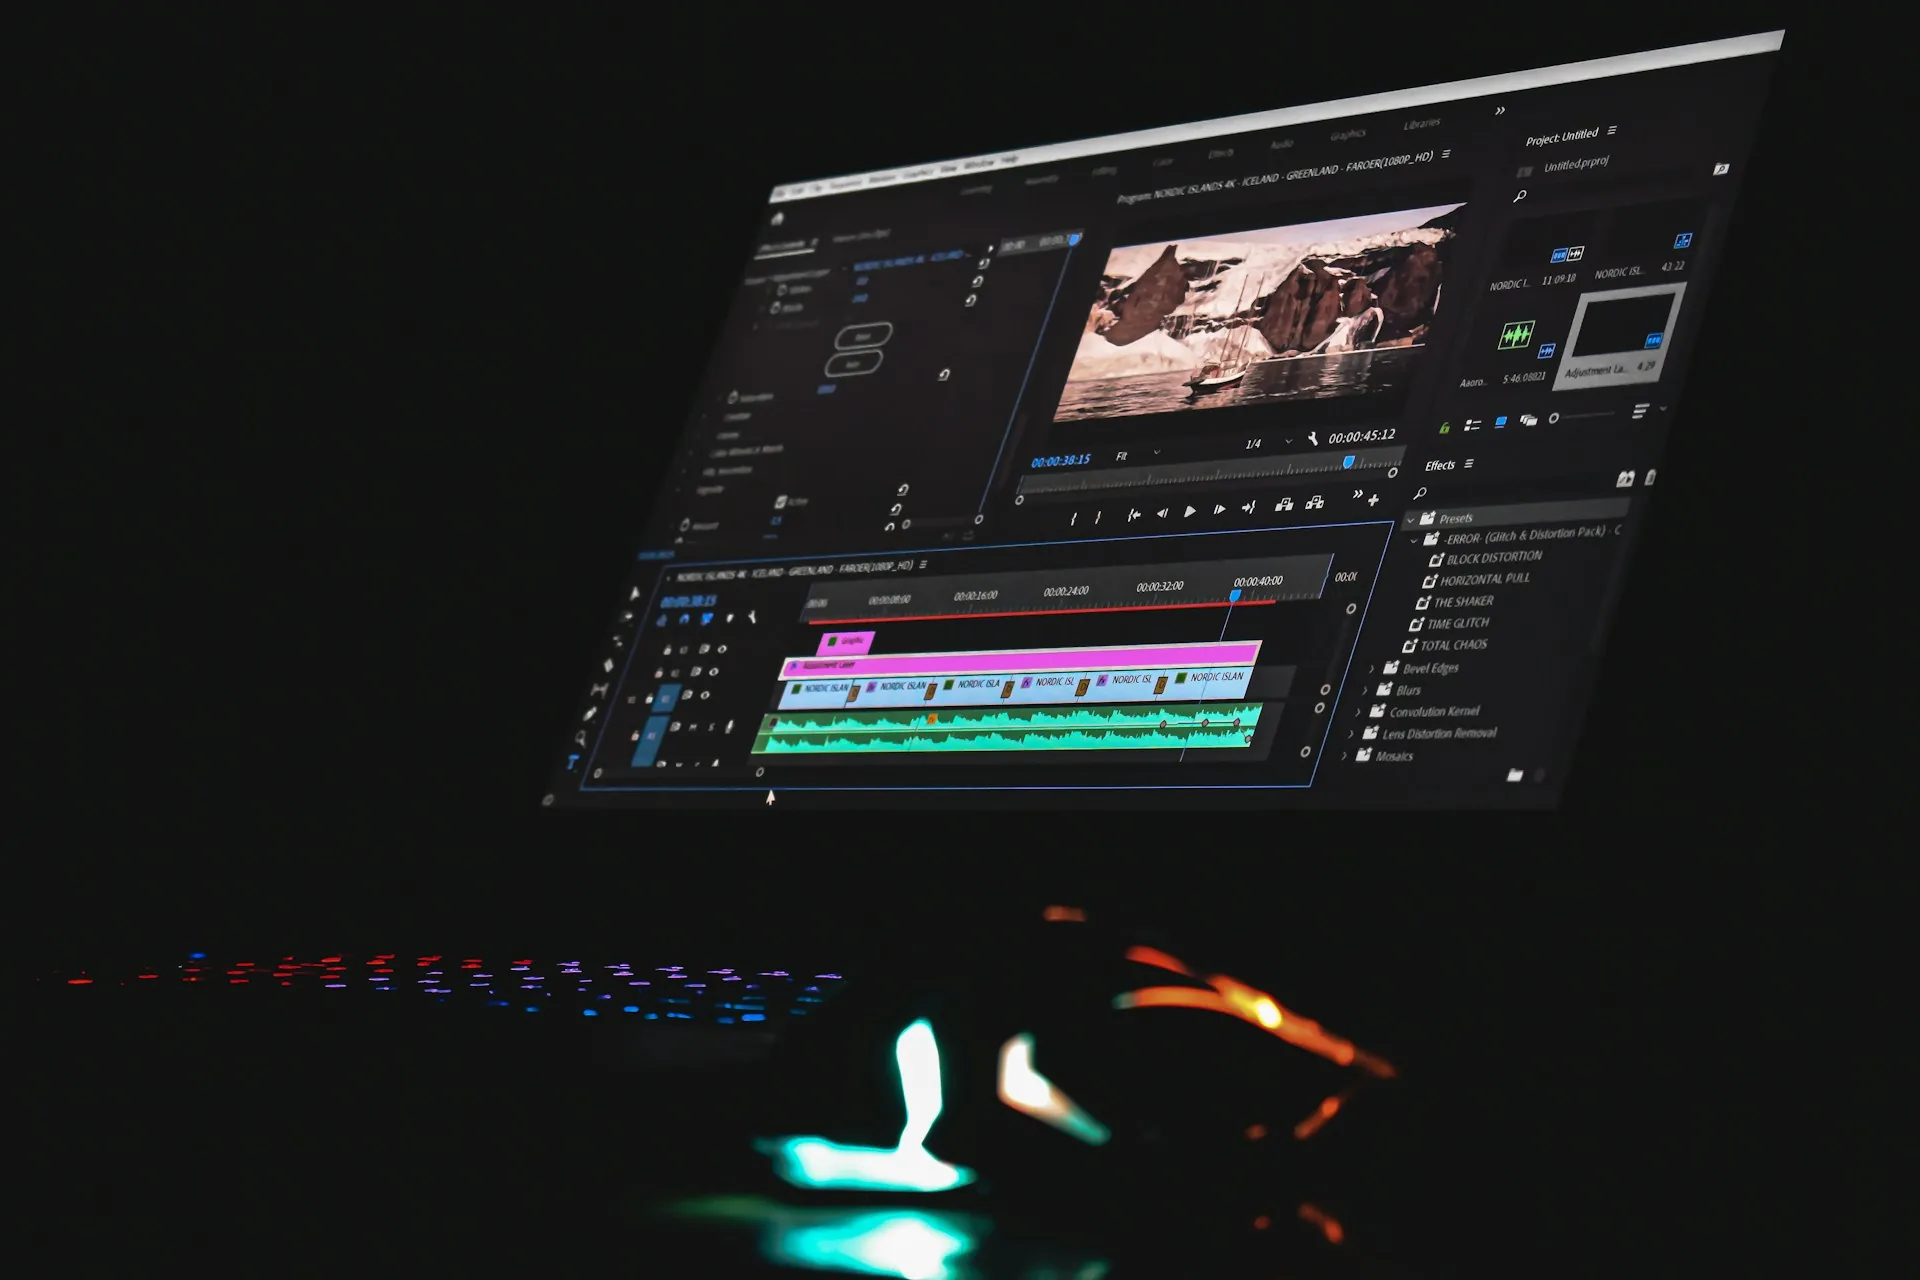
When it makes sense (and when it doesn't)
- It makes sense when you need animated graphics or data behind the presenter in real time.
- It makes sense when the same piece is repeated with different brand backgrounds without changing studio.
- It makes sense for educational or explainer video with constant visual support.
- It doesn't make sense if the studio's real background already conveys what you need: you lose time and naturalness.
- It doesn't make sense for interviews or testimonials, where the closeness of a real space adds more than any virtual background.
- It doesn't pay off if there's no post-production time for a clean cutout: a badly edited chroma shows more than not using it.
Frequently asked questions
Is green or blue better for chroma key?
Green is the standard in video because it sits furthest from human skin tone and digital cameras are more sensitive to that channel. Blue is still used in film when the wardrobe includes green, but for brand content green is the default.
Do I need a studio with a permanent chroma wall or is a fabric enough?
A well-stretched, well-lit fabric or panel is enough for most pieces. A fixed cyclorama helps when there's camera movement, but for static shots with a presenter it isn't essential.
How much time does chroma add to editing?
It depends on how clean the cutout comes out in recording and how complex the final background is. With good lighting, a simple cutout is solved quickly; with loose hair or complicated edges, the fine adjustment takes considerably longer.
Can I use chroma key with natural light?
It's possible, but it makes control harder because the light changes during the day and alters the color balance of the green. For a consistent result, light the background with controlled artificial light, even if the rest of the scene has natural light.
If your next video needs a background that doesn't exist in any real studio, at A0Studios we set up chroma with lighting and a clean cutout included in the session. Get in touch via /#contacto.
If you want to record premium content in Madrid, let's talk
From a quick Reels session to a full production day with editing and delivery, we can scope it to fit.